How to Shape Your Brows – The BrowGal Way by Tonya Crooks
Step One
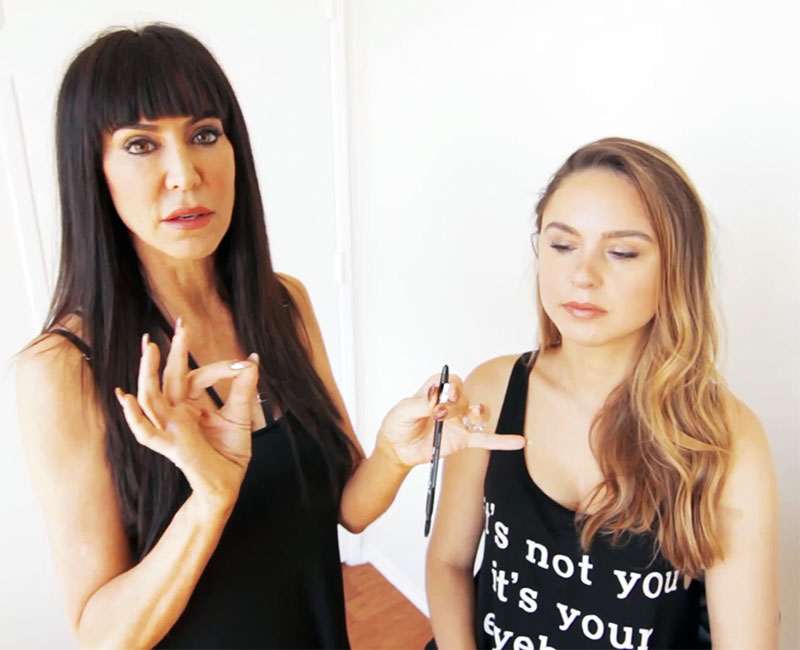
Brush your brows up to determine your natural shape. Brows fall into one of three categories: an Arch (hill shape), an Arc (rainbow shape), or a Straighter Brow (which is exactly that… straight!).
Then look at both brows together to see if the height and distance are similar. This step is important as it allows us to determine how to make the brows look more symmetrical.
Step Two
With your pencil, lightly sketch a baseline starting at the nose and extending to the tail of the brow.
Draw a parallel line above the brow starting from the front near the nose and intersecting with the baseline at the tail of the brow. Brush through the guidelines and fill in any low or uneven areas using fine hair-like strokes.
REMEMBER always use the sharpener cap on the end of your pencil to keep the lead extremely sharp. This will allow for very precise hair-like strokes that create a more natural appearance and won’t show where the hair ends and the fill begins. No hard edges!
Step 3
Using the spoolie brush (on the end of the eyebrow pencil) brush each section of the brow IN THE DIRECTION THAT IT IS GROWING and use The BrowGal scissors to remove hair that falls outside of your outlines, trimming only a few hairs at a time. (Please note if you brush hairs in a different direction than they are growing you will most likely cut too much and create holes.) Repeat this step as necessary, and brush brows back into place.
Step 4
Using The BrowGal tweezers start removing the hairs that fall outside of the guidelines drawn. (Please note that you always want to remove the hairs in the direction that they are growing. Remove one hair at a time, moving in a straight line at the root, similar to how a sewing machine sews.) Refrain from yanking clumps of hair in a forceful manner. Our tweezers are made of the highest quality materials that will allow for maximum ease of use and comfort! Brush through the brows again to check the balance.
Step 5
Use the sharpened eyebrow pencil again to touch up or add intensity to the brow if desired, and brush through again. The BrowGal pencils provide precise detail but also can be blended easily so never be afraid of applying too much or making a mistake!
Step 6
Using the highlighter pencil, apply the matte side under the tails of the brow on the brow bone. Blend with either a brush or your fingertip to emphasize the brows’ shape. This product can be used all over the face to conceal and highlight. Using the shimmery end of the highlighter pencil you can adjust the skin texture on brows, eyelids, inner corners of the eyes and cheekbones, creating a youthful glow.
Step 7
After you have perfected your masterpiece, now its time to lock it in place for the rest of the day and night. Remove the cap of The BrowGal eyebrow gel and swipe through the brows using upward and outward strokes. Apply once, or twice if needed, depending on how waterproof you need your brows to be that day.
Step 8
Go out & ROCK THOSE BROWS AROUND TOWN! Also, make sure to share your looks with on social media @TheBrowGal! Now you’re “on” your own #BrowBoss!

